My great grandparents, Lawrence and Frances Sessler, taught me my love of hanging out on the farm. Once in a while I was allowed to go to their farm and gather chicken eggs, garden, and play outside on the swing set. They lived a very wonderful life of hard work. They learned to persevere during the Depression and the Dirty Thirty's. They were married fifty glorious years! Lawrence built the farm house out of brick and with the things that he was able to build, allowed his one daughter, Jean, to live a very comfortable life, without having to work. They are what is missing in society. They got where they were by the sweat on their brow. By the callouses on their hands. My grandmother reaped the benefits of having a garden, canning, and eating off the land for years.
Francis Sessler and her great-granddaughter ...me at their farm house. :)
My great-grandfather died shortly after the last of these pictures were taken, succumbing to Parkinson's disease. One day he sat on the tractor, something he grew up working on....and realized he no longer knew how to run it. It was a long, painful death ...one that I don't remember much because I was so young.
L-R Me, Lawrence Sessler, Francis Sessler, my mom-Cheryl Christian
My great-grandmother was a devote Catholic. We prayed each night, on bended knee, before we went to bed. She went to each mass, on Sunday and Wednesday. There was a cross in each of her rooms in the house. She crocheted and because of that, I taught myself how to knit.
L-R Francis Sessler, me, Lawrence Sessler
She passed on, due to a stroke, shortly after I had my son in 2001. She struggled with paralysis of her right side of her body and face. I prayed, over her death bed, so that she could join the Lord and within two minutes...she had gone. I knew her spirit had left because I understood the only way she would go to Heaven, was if she was sent up in prayer. The spirt was over me in that decision. I just did what I was told.
This last picture is one of my favorites. It was my birthday. I don't remember what they gave me. I am just thankful I have this memory of them. I miss them both terribly and even as I type this, my heart aches to see them again. I wanted my next project to honor them.
The table that they gathered. The table they prayed over. The table that they ate their harvest on.
My great-grandmother bought this set seventy years ago. I remember eating many meals on it.
Upon their death, my parents received the table and because of their limited space had to store it in their morton building. The brutal heat took it's told on the finish, leaving peeled and cracked places.
Even at my home, I was starting to see the wears and tears my family was adding to it. It had to be refinished before any more damage could be done!
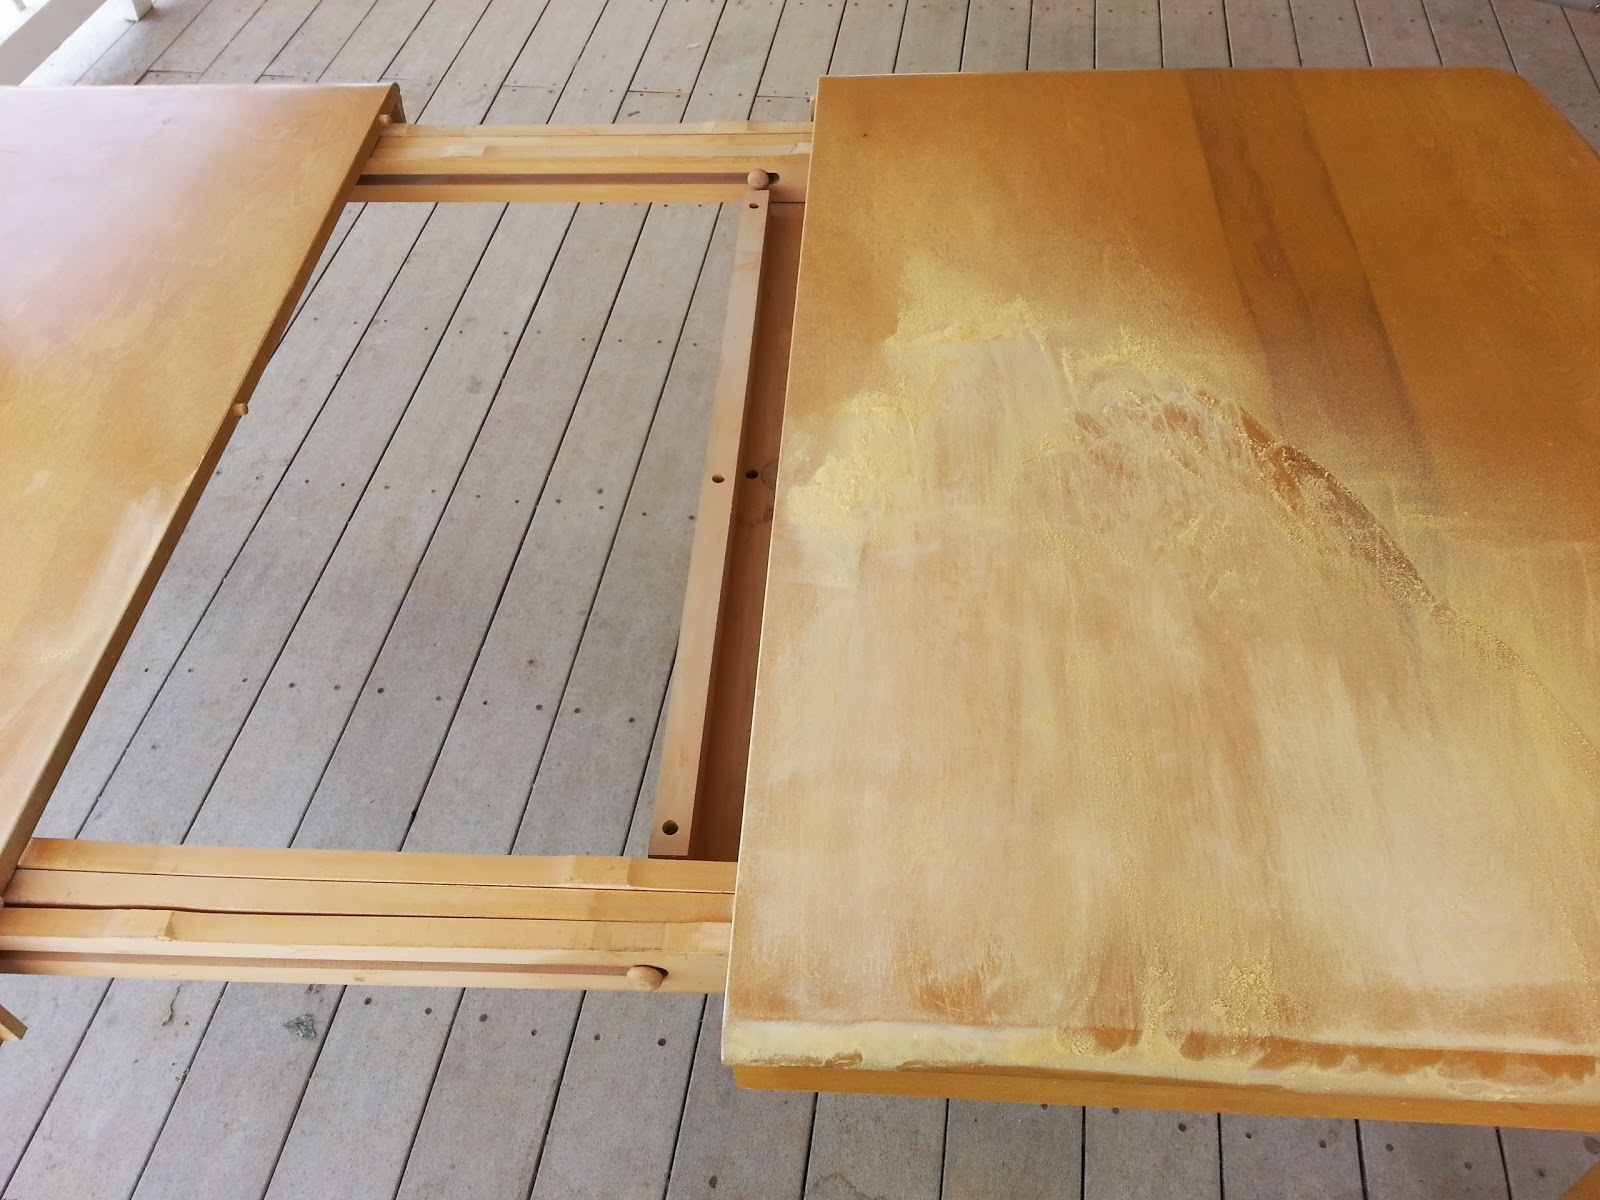
The initial sanding was so quick I decided to do the two leafs that went along with the table.
The grand table, that seats a total of 10!
The before pictures of the leafs.
You start in the direction of the grain. Here you can see me pointing at speckled areas. When you get to that point, you need to continue sanding. I used a coarse sandpaper and an electric sander. Don't even try to tackle a project of this magnitude by hand sanding. You will never finish and the piece will remain in storage for YEARS on your TO DO LIST! I finished sanding this table in one day. Make sure you wear a mask. The dust kicks up and will have you coughing.
Work on one thing at a time. I worked on the top first, then the sides. Don't get ADD on this part! You want to make sure every pieces is done correctly before moving on!
When do I change my pads? When you go over a spot and you see 'streaks' like someone took their fingernail and scratched it like the picture above.
If you see the streaks, turn your sander over. Chances are, this is what you will see. The finish clumps in areas of your sander. All together I changed my pad four times for this project.
Before you move on to a new section, use a broom to dust off all the sawdust. You will see parts where you have missed. This is CRITICAL that you make sure the entire surface is sanded down to the wood. You will get an unfinished surface area if you skip out on this part.
Here is another picture of parts that need "more sanding".
Here is the final part of sanding on the top.
To do the inseams, gently pull apart your table and work in between.
This is what your end result should look like. Another way of telling is if you see the fine details of the grains of wood....that is when you truly know if you have reached the wood. Don't be afraid to get down to that part, but once you see the wood, don't over sand!!!
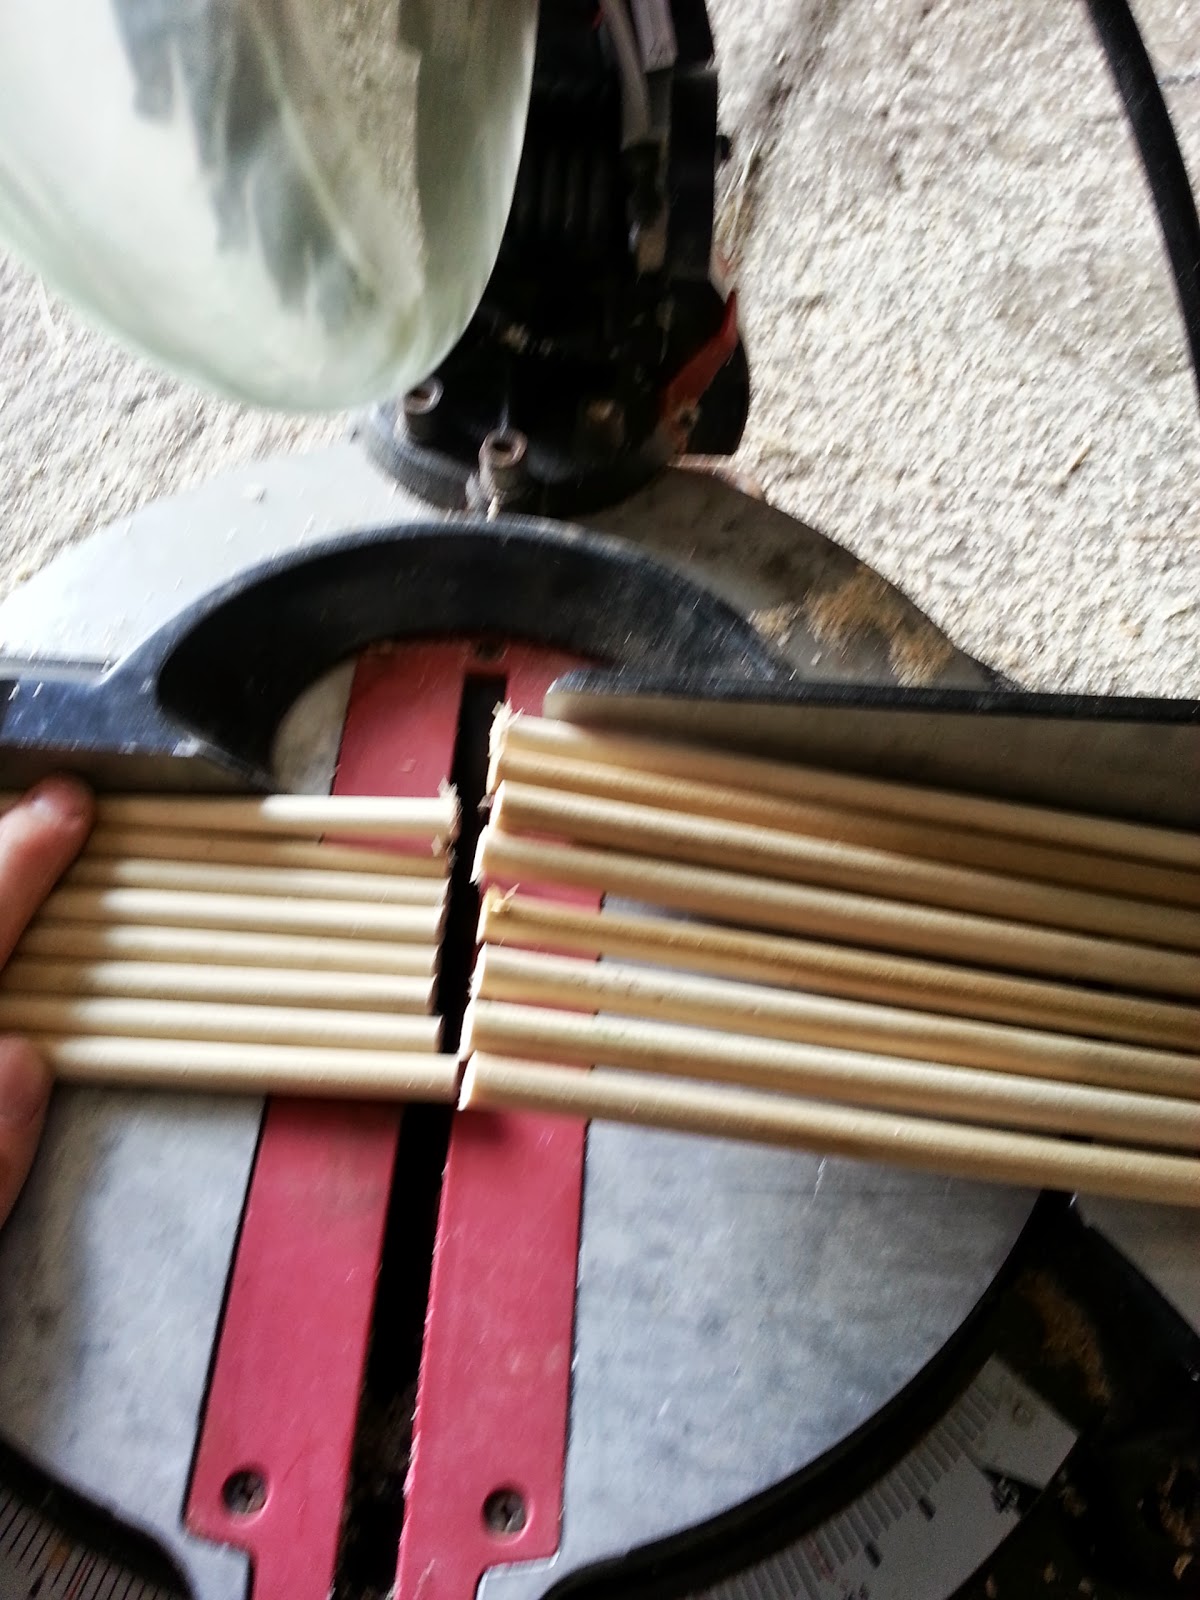
Going...
Going....
Gone!
I then did the legs and our table was complete.
I also saw a small crack.
So I took wood glue...thinking...ya! This will work!
It said it was stainable! I filled the crack.
Then used my finger and smoothed it out.
Next I cleaned up all the sawdust....on the table first and then on the floor.
I use my favorite stain of Minwax in Golden Oak to preserve my grand-parents table. It is a little darker than before.
Apply with the grain, as you can see, the key is fast application and spreading it out evenly. Start with one section and if you splatter, make sure you wipe out the splatters quickly. You don't want a spotty table.
This is how you work it in...quickly now folks! But don't get sloppy or your job will look sloppy!
Work a section at a time to ensure an even coat.
This was the end result of the wood glue. Yikes huh...It's not as 'stainable' as I was hoping it claimed to be. Luckily it's a small crack and at least it won't cracking further. But all in all...research this before sealing it in. If you use elmers glue, sand it down first before applying a stain. That's the only thing I would have done differently to this project.
I pulled apart the leafs and stained the inside part that previously had not been stained.
Pull apart your leafs to stain the inside sections.
This is the end result of my great-grandparents table! I love it and I am sure they love it as well! Let your table dry for at least 24 hours before applying a top coat. DO NOT EAT ON THIS TABLE! Without a top coat, things like a cold glass of water will leave a ring mark! Make sure your table sits in a well ventilated area....preferably not in your home... as the stain gives off a harsh smell until dry. I kept mine on the back porch since there was no rain in the forecast.
I will be posting on how to apply polyurethane in my next blog. I am choosing that because it is the best way to protect this table from my family! I have a toddler and a 12 year old...
Also, in future posts, I will be showing how to refinish the six table's chairs as well as reupholster them. (This will be my first time reupholstering anything so I'm excited to learn and do this!)
I'm thinking faux cow hide in brown n white or perhaps Ruby Red...even though my husband wants to stay green. The chairs currently have green wool on them. They are extremely itchy and are faded from the years out in the Morton. I will also be putting plastic over them for a quick wipe down during our toddler years! Once she learns not to smear mac n cheese on them, then we'll take it off!
In future posts, look for me building a bench for this table. It will be the length of the table with the leafs in. This way we can hold 10 people total. Or perhaps more if they snuggle close!
And...this post is dedicated to my Great-Grandparents of Ellinwood, Kansas:
Lawrence and Frances Sessler
I miss you and will see you sooner than later. Keep shining your light this way.