Sunday, January 13, 2013

Old window redone with paint and burlap

I found an old window at a thrift store and decided to give it a little revamp.
On this picture you can see that there is nothing holding the window in place.
On this picture you can see some of the original caulking on the window that was sturdy enough to hold the window in place. 


I started with taping off the window where there was a need for caulking.

I made sure that the window would also receive some of the caulking to hold it into place. 

I used kwik seal caulking. This window will eventually be hanging in my little girl's room so there was no need for anything else. 

I applied a thick band in between the groove.


Then I took a paper towel and ran it along the bead.

This smoothed out the rough spots and made it look smoother, while sealing into the crevasse. 

I then pulled off the tape, before it dried. I rolled the excess into a mini roll to keep the caulking from getting on the window. 


I waited 24 hours for the caulking to set in then washed it with a vinegar solution.

I pulled out each of the window ropes, leaving a nail behind in one of them. I thought that was kinda cool so I left the nail.


The only hardware I used was four screws and wire. I used the small ones for the window and one long screw for the wall. Sorry I must have miscounted by one! 


I used what we had on hand which was electrical fence wire, bending it around each screw, creating a string between the two screws.

I then used the stud finder to place one screw on the wall. 


I printed Lucile on a piece of paper and sized it on the frame. It wasn't quite as large as I wanted it to be. Back to the printer.

I ironed the burlap.


I then placed the burlap over the window frame and used scissors to cut it close to the frame. 

I found the font size which was 400.
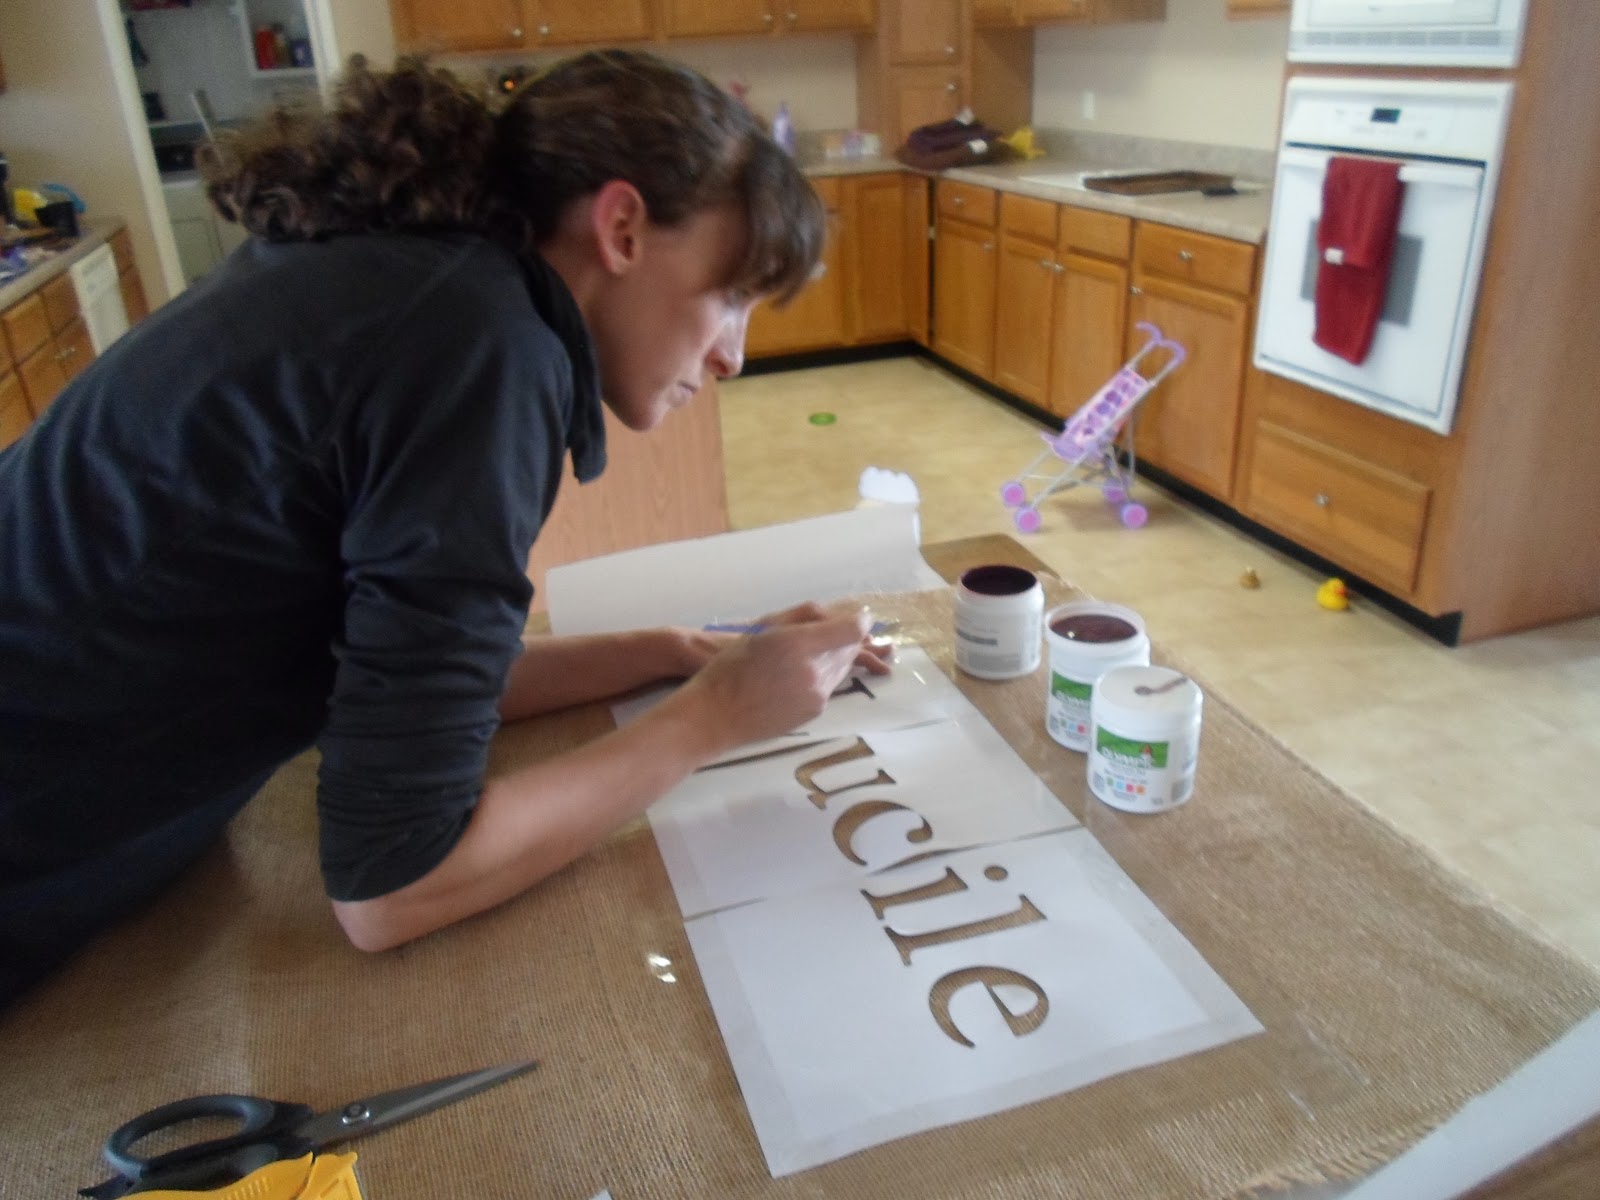
I then cut out the black and lined the stencil to make sure it was even. I taped it to the burlap and painted the letters, using three colors.
I bought paint samples from Lowes with the color of choice. I let this dry for 2 hours.


I then used extra pieces of burlap to secure the ends and then used a piece of packing tape to fold in half to make sure it would never 'unravel' and that it created a more secure piece to nail into.

I rolled it tight and nailed and then moved down the window frame, stretching and nailing.

The result is my daughter's name on burlap in an old frame.


Friday, January 11, 2013

Creating a desk using reclaimed wood

Good morning from Oklahoma! This is my reclaimed wood desk project. The final desk measures three feet by 8 feet long. It is 31 inches from the bottom to the top. Pretty big because I will be making a hutch in the coming weeks to sit on top of this.
This was my reclaimed wood. I found it on our property when we moved in. It was warped and faded even though it was stored in a shed. There was signs of water damage. It was perfect. Free! 

I started by lining up the boards, some of the boards magically fit together, others did not. It was a little puzzle that my son and I tacked together, trying to find the closest "fit" for the top of the table. 

We settled in on this fitting and laid a long board in between our doorway to get a 'level'. Yes I am not a carpenter but I do use normal 'common' sense leveling practices. My husband even asked when I was done...did you use a level. No. But the thing is 'level' so thats what counts right? :) 

I placed boards on top 'measuring them out' and then started screwing them down, one by one.

Note to self: Don't leave screws out for toddlers to scatter throughout the house. I am still finding missing screws.

The result was the top of the 'desk'. 

I put on legs, securing them with screws and 'wedging' them in with boards so they would not wobble. 
Honestly just look up tables and get an 'idea' of how legs should be secured and then go for it. If it feels unsafe, then add some cross beams in and screw more. Yes...common sense. If you think it is wrong, well chances are you need more support and screws. 


This shows a front view of the desk. 

I sanded everything down. The top I took my time and probably spent two hours sanding the top. I sanded all prints and stamps off of the wood. Sand well, you do not want splinters in your hand while writing checks. It will make bill paying a lot less enjoyable.


I wiped the entire desk down with a rag.

I used my favorite Golden Oak from Minwax.


I applied, going with the grain, each board, one by one until the entire desk was covered, then worked on the legs. I let the stain dry for 24 hours.

I then applied one coat of polyurethane. I let it dry for 24 hours. 
I sanded the polyurethane with a fine sand paper. 

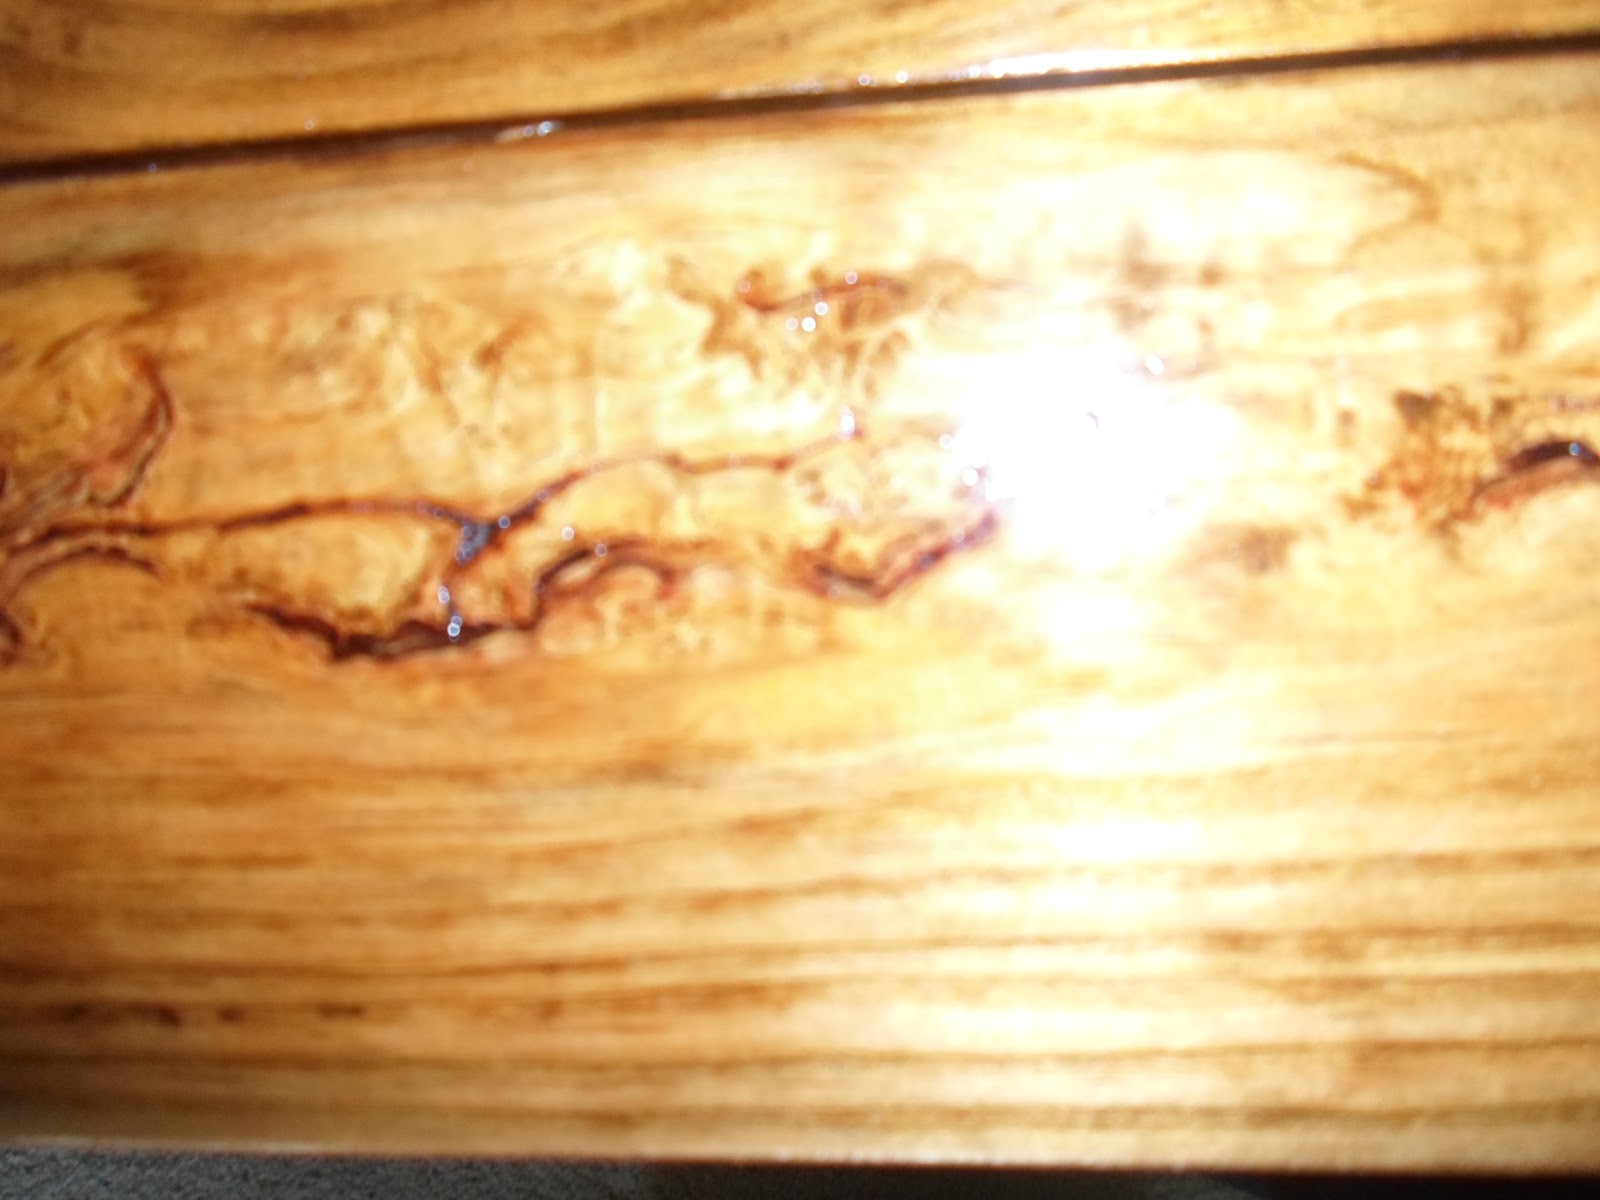
I then wiped it off with a rag and put a second coat of polyurethane on and let it dry for an additional 24 hours. The result was a smooth surface. 

The end result is a large desk...the hutch is next. 


This shows my cross beam in the back.


Happy creating! Btw..you never really need plans. You just need to go for it. Yes this isn't a perfection website but a get off your ass and do it website. Happy creating!